The Fresh Loaf

A Community of Amateur Bakers and Artisan Bread Enthusiasts.

bastet469's blog

bastet469's picture
bastet469

Had some trouble with my camera so I couldn't access the pics til today. Sry :(

So here's what happened on Day 4:

All the raisins collected on the top. I'm starting to see signs of the raisins breaking down. Their edges are ragged and there's sediment collecting at the bottom of the jar.

After shaking, the raisins dispersed throughout the jar. It took over an hour for the to re-collect at the top.

The lid made a popping sound when I opened it and there were more bubbles floating on the water's surface.

It still smells like raisins. No smell of fermentation yet. 

 Note: Took a suggestion of a TFL member and added a tablespoon of sugar to the water. She said her recipe said to add sugar or honey on Day 3 to feed the yeast.

 When I opened the jar for it's daily aeration, I poured some of the water into a glass and added the sugar. I stirred until dissolved and poured it back into the jar. Afterwards, I shook it as usual.

See you on Day 5! :)

 -wendy

bastet469's picture
bastet469

Hey, 

Sorry for not posting yesterday. My back went out, as it often does, so I spent the day in bed. The raisins swelled with water a few hours into Day 1 and remained at the bottom of the jar. There was no change on Day 2.

Day 3

The swollen raisins (see above) are starting to separate from each other. Opened the jar and there's no change in the smell. Just smells like raisins. There were a few floaters and bubbles though. (below)

Drew the numbers with an app. How cool is that? SCIENCE!! :)

 See you tomorrow!

-wendy

bastet469's picture
bastet469

Hey it's Wendy here with a new starter project. :) 

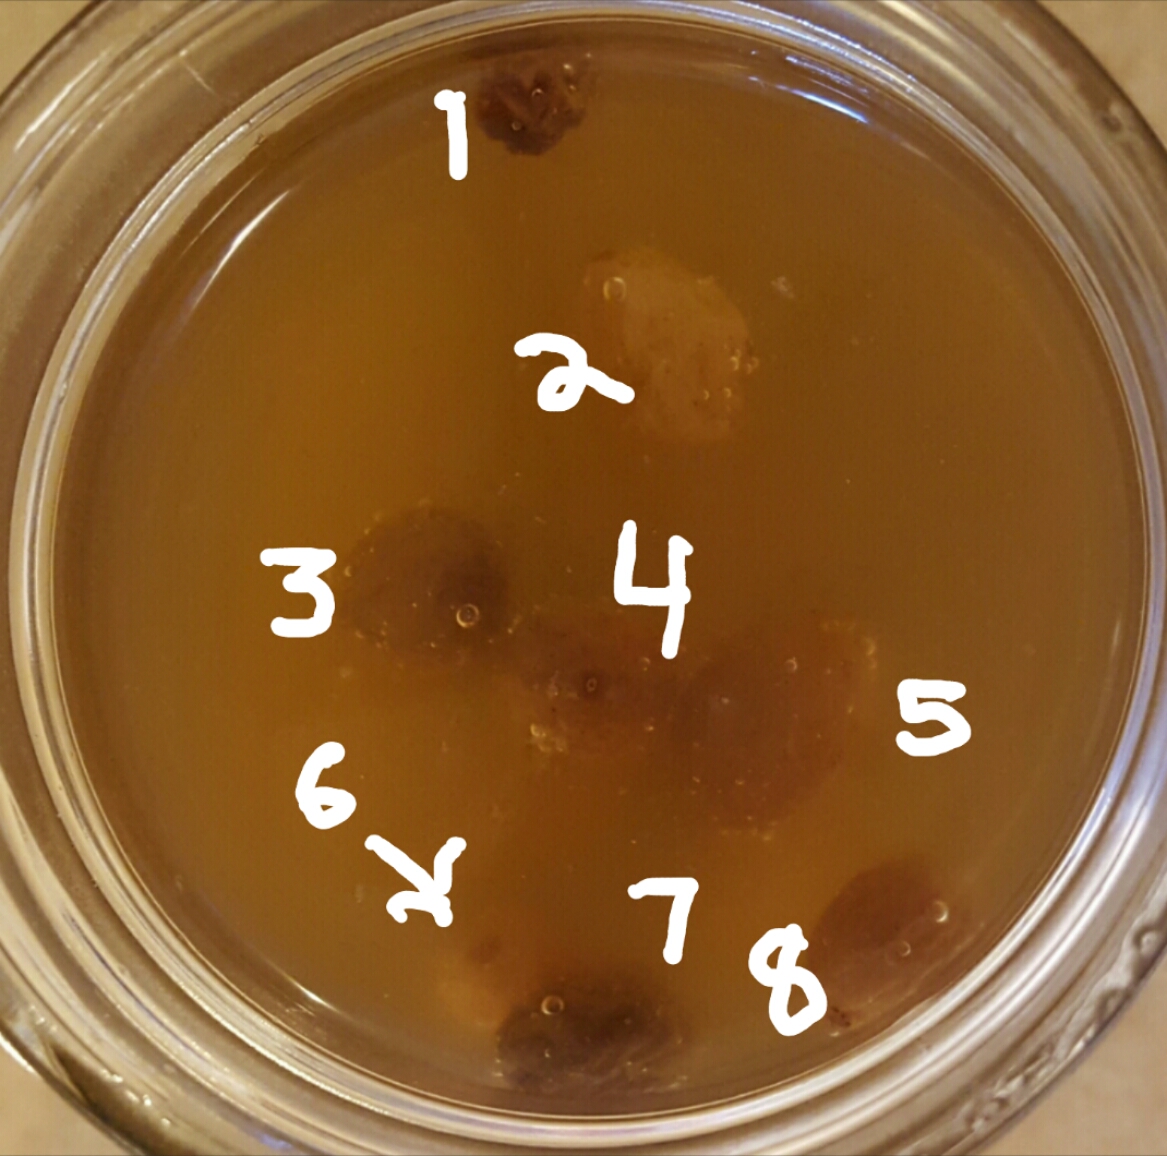
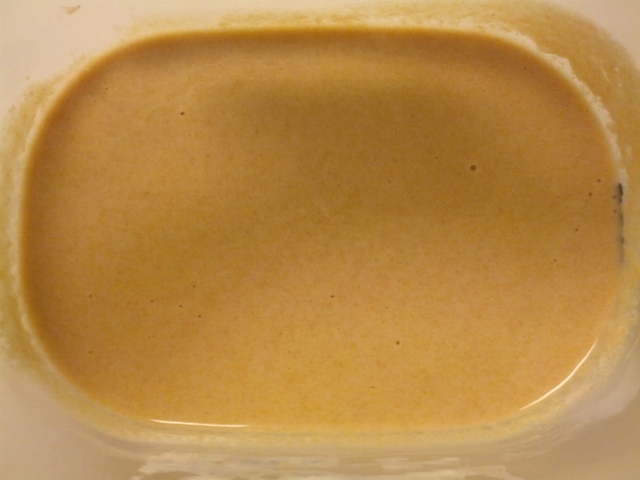
While waiting on my other cultures to grow, I read about harvesting yeast from water used to ferment raisins. SCIENCE!! I'm a sucker for experiments. It's part of the reason I like bread baking to begin with. So this, I had to try. I put it together about an hour ago. (see photo) Doesn't look too appetizing does it? Lol

My research found that splurging on organic raisins is the key to getting results. Regular ones may contain grapes grown with substances that prevent yeast development on the surface. They may also be processed with additives like oils to make them shiny. If anyone can confirm or deny this stuff, let me know because it woulda been nice to use the Costco Sun Maids I already had.

Anyway, the process takes about a week. I'll post photos daily. 

These instructions came from a video on Ryoya Takashima's YouTube channel Peaceful Cuisine. He's vegan chef, instructor and blogger (PeacefulCuisine.com) based in Japan. The video was part one of a three part series titled Baking with Natural Yeast. It's high-res and very well produced. He also answers a lot of questions in the comment section. Go there and see. :) 

You Will Need:

  • 16 oz. Jar or Container w/lid
  • ½ cup Organic Raisins
  • 1½ cups Water (filtered or spring)

*Can be scaled using 1:3 ratio, raisins to water. Just make sure container is large enough leave a little space at the top. 

Process:

  • Put ingredients in the jar
  • Close the lid
  • Gently shake the jar
  • Set in a warm place

Daily Regimen (for 5-7 days approx):

  • Open jar briefly to allow gas buildup to escape (could that be construed as a jar fart? Lol)
  • Close & gently shake
  • Keep an eye out for white mold floating on surface and spoon out before shaking

When the Raisin Water is done, there will be 3 major indicators. ALL the raisins will be floating on top and there will be lots of smaill bubbles. After opening the jar, you will hear a fizzy sound. Lastly, the smell will be very strong.

At that point, it's ready to use, either strained or unstrained. You can use it to replace the water in your starter recipes or to replace both the water and the yeast in your pre-ferments.

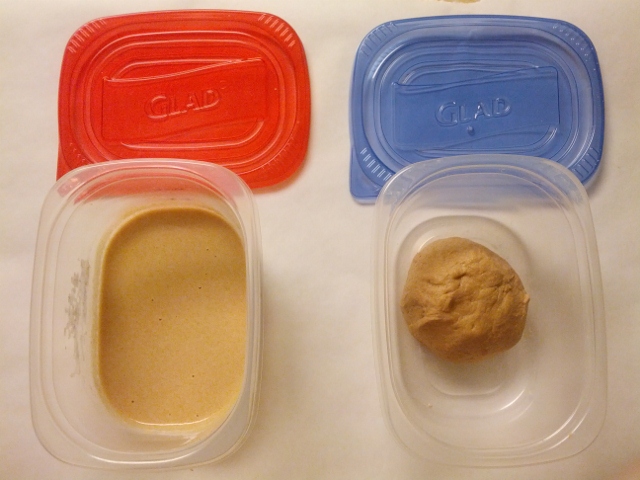
I plan to feed the Raisin Water to my sluggish white starter and see what happens. Haven't decided if I'm gonna use it strained or not.

The jar can be stored for a month or two. After that, the yeast will start to weaken. If there's a way to refresh it without starting over, let me know.

See ya on Day 2 :) 

-wendy

bastet469's picture
bastet469

12:00 AM March 9, 2013 (72 hrs)

Red

Lots of small bubbles on the surface only. Sorry; too hard to photograph. :(

Blue

Flattened to sides of container but no difference in volume. Based on the time passed, the directions say I should refresh now. But it hasn't puffed up the way Sweetbird's did . Line of dough on container is the true measurement. I've decided to give this another 24 hours and see what happens. Ugh...


bastet469's picture
bastet469

12:30 AM March 10, 2013 (96.5 hrs)

Red

Same surface bubbles as yesterday....

Blue

I have NO IDEA if this one is going to work. I've given this one 72 hours rather than 48 in hopes that it would puff up the way Sweetbird's did but so far it looks like a pancake that was left out to rot!!

It's moist on top instead of having the dried crust Sweetbird mentions. The smell is mildly cumin-y like it was on Day 3 & 4. One thing is similar to Sweetbird's findings is the discoloration of the top layer. Below you can hopefully see that the underside of the starter is the same color as it was originally while the top turned greyish. The only reason I'm continuing is because of the bubbles I saw on the underside. I hope that means bacteria growth. :S

First refreshment (48-72 hrs.):

6.25 oz/117 g organic whole wheat flour (3/4 C.)

2.75oz/72 gms warm water (1/3 C.)

1 oz/28.5 gms chef (2 Tbs.)

Combine ingredients. Turn out onto work sureface and knead briefly. Cover and set aside for 10-12 hours.

 I removed the discolored portion of the chef and measured from what was left. Also, as I mentioned, I gave mine an extra day before doing the refreshment so we'll see what happens.

bastet469's picture
bastet469

2:45 AM March 8, 2013 (50.75 hrs)

Back trouble caused me to turn in early and miss 12 AM deadline. But change seems minimal in both ferments. To make it easier on myself, I'll be referring to the cultures by the color of the container lids: Red for Reinhart, Blue for Ortiz.

Red

Looks exactly the same as yesterday: no bubbles, no change in size.

Reinhart's book says that's to be expected. Proceeded with Phase 2 as directed.

Seed Culture, Phase 2

3 1/2 tablespoons (1 0z/28.5 g) whole-wheat flour, whole rye flour or unbleached bread flour

2 tablespoons (1 0z/28.5 g) unsweetened pineapple juice, filtered water or spring water

All of the Phase 1 seed culture (3 0z/85 g).

Add the new ingredients to the Phase 1 seed culture and stir with a spoon or whisk to distribute and fully hydrate the new flour. (The liquid can be cold or at room temperature; it doesn't matter.) Again, cover with plastic wrap and leave at room temperature for 24 to 48 hours, stirring with a wet spoon or whisk to aerate two or three times each day. There should be signs of fermentation (bubbling and growth) during this period. When the culture becomes very bubbly or foamy, continue to Phase 3. This phase could take anywhere from 1 to 4 days. As long as you aerate the seed culture regularly, it will not spoil or develop mold.

Added ingredients directly to container and whisked. Didn't bother to measure out the 3 oz of Phase 1. Cleaned off the sides of th container and drew a new fill line.
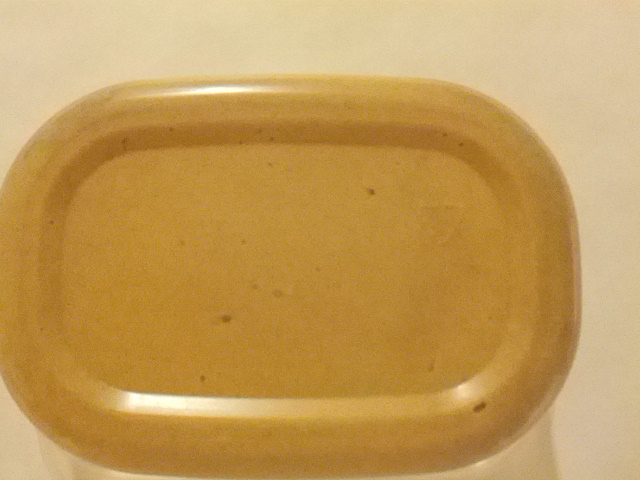
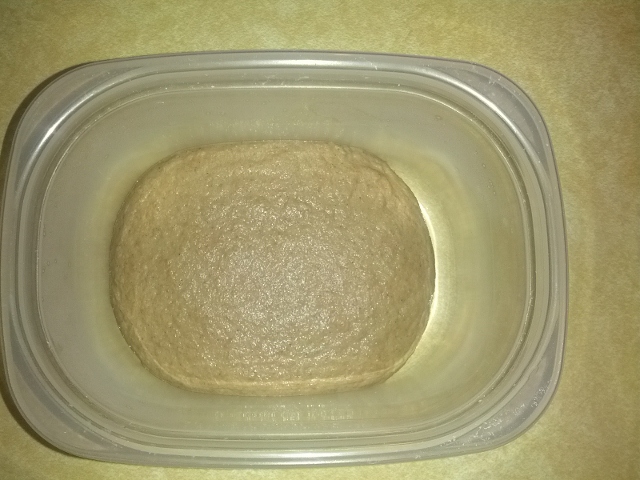
Line's based on actual level. Some excess gets on the sides when you move conatiner around.

A few bubbles began forming duing the time it took me to clean up the counter top! Poked a hole in the lid with a skewer (from inside-out) just in case of gas buildup.

Blue

Ball has spread more. Color & condensation remains the same. Cumin smell isn't as strong as it was on Day 1. Based on 48 hr photo of Ortiz's starter in Sweetbird's Blog entry on Pain de Campagne, I've decided to give it another day before feeding it.

bastet469's picture
bastet469

12:00 AM March 7, 2013 (24 hrs)

Reinhart Stater

I noticed a thin layer of clear amber colored liquid develops on top of the mixture between stirs. It was too thin to photograph. Other than that, there was no chnage.

Ortiz Starter

Condensation has appeared on the sides of the container. The shape has flattened somewhat.


The surface has darkened slightly. Sorry that you can't really tell from the picture. Turn over the container and you'll see the difference in color.

bastet469's picture
bastet469

Welcome to my Lab of sorts.  For the next week or so, I will be documenting my progress on two different ferments I started at 12AM EST on March 6th, 2013.  The first is from Peter Reinhart's book Artisan Bread Every Day.  The other is from Joe Ortiz's The Village Baker. The reason I chose to do two different recipes at the same time was partly to see which process suits me best and partly to help insure that I'll have at least one to bake with at the end if one fails.  In addition, since they both use a unique ingredient (Reinhart's pineapple juice & Ortiz's cumin) I'm curious to see what the effects will be on each.  Below are the recipes I used and pictures of the finished products. Reinhart’s is in the red topped container, Ortz’s is in the blue one.


What a difference right?

Peter Reinhart's Recipe

Seed Culture, Phase 1: Day 1

3 1/2 tablespoons (1 ounce) whole-wheat flour, whole rye flour or unbleached bread flour

1/4 cup (2 ounces) unsweetened pineapple juice, filtered water or spring water.

In a small non-reactive bowl or a 2-cup glass measuring cup, stir the flour and juice with a spoon or whisk to make a paste or sponge with the consistency of thin pancake batter. Make sure all of the flour is hydrated. Cover the bowl with plastic wrap and leave at room temperature for 48 hours. Two to three times each day, stir the seed culture for about 10 seconds with a wet spoon or whisk to aerate it. There will be few or no bubbles (indicating fermentation activity) during the first 24 hours, but bubbles may begin to appear within 48 hours.


Very Soupy. Not much to it. Drew a line on the container to keep track

Joe Ortiz's Recipe

Chef: Day 1

 ½ Cup (78g) organic whole wheat flour

⅛ tsp. cumin

¼ Cup (46g) spring water

½ tsp. organic milk

Combine flour and cumin in a non-reactive bowl.  Stir in water and milk until a small ball is formed.  Turn out onto clean work surface and knead briefly.  Place in a non-reactive container and cover for 2-3 days until doubled.


***********************************************

12:00 AM March 7, 2013

Ortiz's starter has darkenend on the surface and flattened somewhat. Reinhart's--no change

Subscribe to RSS - bastet469's blog